

Table of Contents
- What makes grilled cod different
- Choosing the right cut: why you need thick loin
- Desalting and brining: preparing cod before grilling
- Types of charcoal and how they affect the outcome
- Temperature zones and times according to thickness
- Step-by-step technique: the perfect recipe
- Accompanying sauces: aioli, romesco, and green sauce
- Presentation and plating
- Frequently asked questions
Grilled cod is one of the noblest and simplest preparations for this fish. Unlike pan-frying—where heat comes from a flat metal surface—grilling cooks with radiant heat, smoke, and convection. The result is crispy skin with grill marks, juicy flesh that flakes apart, and a smoky aroma impossible to replicate with any other method.
However, grilling cod has its pitfalls. A fillet that's too thin dries out in seconds. Poorly chosen charcoal can impart bitterness. And placing the piece in the wrong part of the grill turns a premium ingredient into something mediocre. In this guide, we cover everything you need to know: from selecting the cut to exact cooking times based on thickness, including the type of charcoal, heat zones, and the sauces that work best.
If you're looking to cook on a flat surface, we have a complete guide to pan-fried cod that might interest you. Here, we're talking exclusively about fire, charcoal, and the grill.
What makes grilled cod different
The difference between grilling and pan-frying isn't just semantic. They are two cooking methods with distinct results:
- Radiant heat vs. conduction: Grilling cooks by infrared radiation from below and convection from hot air. Pan-frying transfers heat by direct contact with metal. The result from grilling is a more enveloping and less aggressive cook.
- Natural smoking: When cod fat drips onto the coals, smoke is generated that permeates the flesh. This subtle smoky flavor is exclusive to grilling and cannot be replicated in a pan.
- Grill marks: The grates create caramelized marks (Maillard reaction concentrated in lines) that provide crispy texture and visual contrast.
- Zone management: A grill allows you to create direct and indirect heat zones. This is key for thick pieces of cod that need to be seared on the outside and finished with gentle heat.
Grilled cod requires thick pieces, proper prior desalting, and temperature control. If you master these three factors, the result is superior to any other cooking method for this fish.
Choosing the right cut: why you need thick loin
Not all cod cuts work on the grill. The grill is an aggressive environment: high temperatures, direct heat, and the risk of thin pieces drying out or breaking when flipped. Therefore, choosing the cut is the first critical step.
The loin: the ideal cut
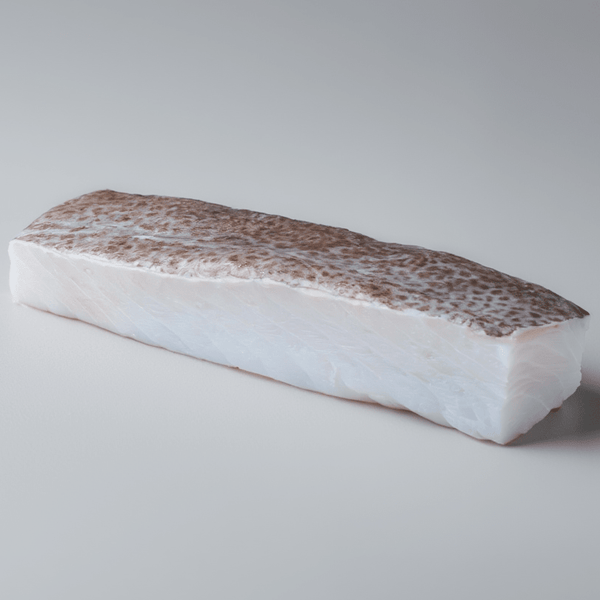
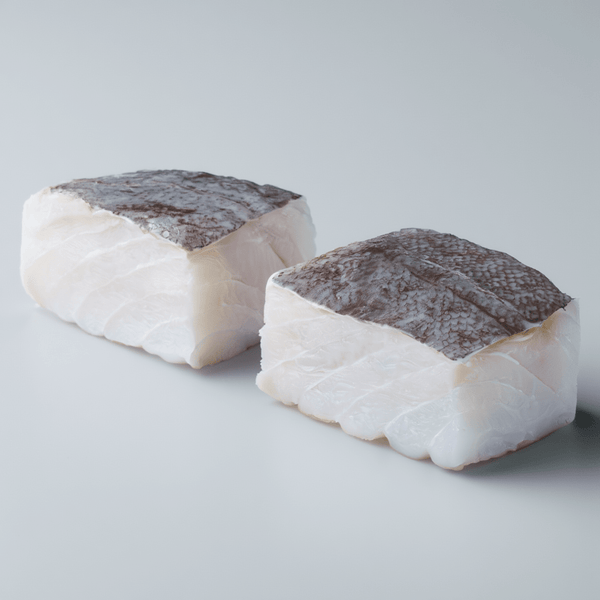
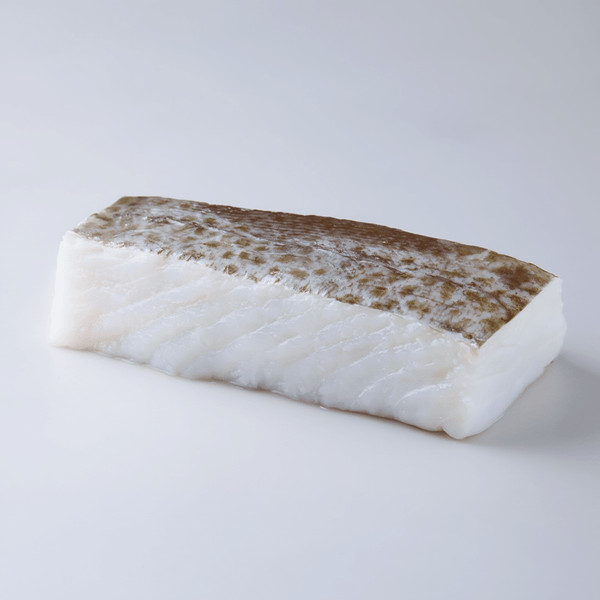
The cod loin is the thickest part of the fillet, cut from the central-upper area of the fish. With a thickness of 3 to 5 cm, it has enough mass to withstand the heat of the coals without drying out. Its proportion of gelatin and collagen maintains internal juiciness while the surface caramelizes.
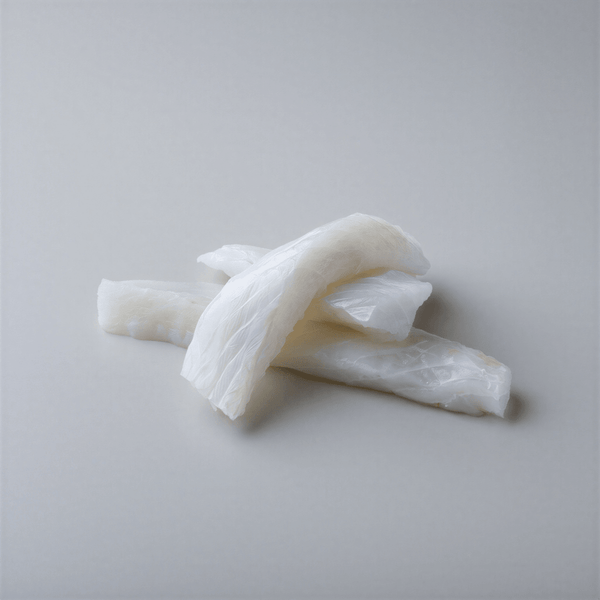
For grilling, look for loins at least 3 cm thick. Thinner pieces—such as flakes, tails, or trimmings—cannot withstand direct heat and dry out in less than two minutes. If you want to thoroughly understand each part of the cod and what it's used for, consult our guide to the 5 cod cuts and when to use each.
With skin or without skin?
Always with skin. The skin serves three functions on the grill:
- It protects the flesh from direct heat, acting as a barrier.
- It becomes crispy and adds textural contrast.
- It makes it easier to flip the piece without it breaking.
Our desalted cod loin comes with skin, at the ideal thickness, and is ready to go straight to the grill. If you prefer to desalt it yourself, we explain the process in the next section.
Desalting and brining: preparing cod before grilling
The cod that reaches your kitchen can be in two states: salted (needs desalting) or already desalted (ready to cook). Both paths are valid, but each requires a different preliminary step before grilling.
If you start with salted cod: classic desalting
Submerge the pieces in cold water for 36 to 48 hours, changing the water every 8-10 hours. The goal is to reduce the internal salt to a pleasant level for the palate—between 1% and 2% salinity. For thick loins of 4-5 cm, count on the upper range: 48 hours.
We have a detailed guide on how to desalt cod at home with quick and conventional methods. Consult it if it's your first time.
If you start with already desalted cod: optional brining
When using already desalted cod, a light brining for 30 minutes significantly improves the result on the grill. Prepare a brine with:
- 1 liter of cold water
- 30 g of salt (3%)
- 15 g of sugar (optional, promotes browning)
Submerge the cod for 20-30 minutes and dry thoroughly with paper towels. This step achieves two things: it season the inside uniformly (surface salt doesn't penetrate the same way) and it slightly denatures the surface proteins, which helps retain juices during high-temperature cooking.
Drying: the step everyone forgets
Regardless of the method you use, the cod must reach the grill completely dry on the outside. Surface moisture generates steam, and steam prevents the Maillard reaction. Without Maillard, there's no crust, no grill marks, and no grilled flavor.
Dry the pieces with kitchen paper on both sides. If you can, leave them uncovered in the fridge for 30 minutes before cooking: the dry cold of the refrigerator naturally evaporates surface moisture.
Types of charcoal and how they affect the outcome
Charcoal is not a minor detail. It determines the maximum temperature, the duration of heat, the amount of smoke, and the final flavor. For grilled cod, these are the three main types:
Oak charcoal
The standard in Spanish grills. It reaches temperatures of 400-500 °C at its peak and maintains stable heat for 45-60 minutes. It provides a subtle smoke, without aggressive flavors. It is the most versatile option and the one we recommend for cod.
Quebracho charcoal
Denser and with higher heating power. It reaches up to 600 °C and lasts longer. Its heat is more intense, requiring greater control of the distance between the fish and the coals. A good option if you have experience, but less forgiving of timing errors.
Briquettes
Lower and more uniform temperature (300-350 °C), with long duration. They are more predictable than lump charcoal, but generate less radiant heat. Valid for very thick pieces that need slow cooking, but do not produce the same level of caramelization as oak charcoal.
Our recommendation: oak lump charcoal. Light it with a chimney starter (never with chemical firelighters, which transfer unpleasant flavors to the fish) and wait until the coals are covered with white ash before cooking. This indicates that they have passed the flame phase and are in stable combustion.
Temperature zones and times according to thickness
A well-set up grill has two clearly differentiated zones:
- Direct zone (high heat): the coals are directly under the grate. Here the cod is seared to create a crust and marks.
- Indirect zone (medium-low heat): no coals underneath, only heat from lateral convection. Here the internal cooking is finished without burning the exterior.
The technique is simple: sear in the direct zone, finish in the indirect zone. This way you get a crispy exterior and juicy interior. If you leave all the cooking in the direct zone, the exterior will burn before the center is cooked.
Table of cooking times by fillet thickness
| Loin thickness | Skin sear (direct zone) | Flesh sear (direct zone) | Final cook (indirect zone) | Approx. total time |
|---|---|---|---|---|
| 2 cm | 2-3 min | 1-2 min | 1-2 min | 5-7 min |
| 3 cm | 3-4 min | 2-3 min | 3-4 min | 8-11 min |
| 4 cm (ideal) | 4 min | 2-3 min | 4-5 min | 10-12 min |
| 5 cm or more | 4-5 min | 3 min | 6-8 min | 13-16 min |
Important note: these times are approximate for oak coals at stable temperature (your hand can withstand 2-3 seconds at grate height, which is equivalent to about 250-300 °C on the surface). If using quebracho, reduce searing times by 20%. If using briquettes, increase times by 15-20%.
The definitive sign that the cod is ready is visual and tactile: the flesh should be opaque and separate easily into flakes when pressed with a fork, but not dry. If the center is still slightly translucent, that's perfect: residual heat will finish cooking it off the grill.
Step-by-step technique: grilled cod recipe
Grilled Cod
Prep time: 15 minutes (+ 30 min optional brining)
Cook time: 10-12 minutes
Servings: 4 people
Difficulty: Medium
Ingredients
- 4 desalted cod loins, 200-250 g each (minimum 3 cm thick, with skin)
- Extra virgin olive oil
- 1 lemon
- Freshly ground black pepper
- Chopped fresh parsley
- Oak charcoal (sufficient quantity for the grill)
- Maldon salt or salt flakes (optional, for finishing)
For brining (optional but recommended)
- 1 liter of cold water
- 30 g salt
- 15 g sugar
Instructions
- Brining (optional). Dissolve the salt and sugar in the water. Submerge the cod loins for 20-30 minutes. Remove and dry thoroughly with paper towels.
- Bring to room temperature. Take the cod out of the refrigerator at least 20 minutes before cooking. A cold piece in the center needs more time on the grill and will dry out on the outside before being cooked through.
- Light the coals. Use a chimney starter to light the oak charcoal. Wait 20-25 minutes until it is covered with white-gray ash. Dump the coals to one side of the grill to create direct and indirect heat zones.
- Prepare the grate. Clean the grate with a wire brush and rub it with a cloth soaked in olive oil. This prevents the cod from sticking.
- Oil the cod. Brush both sides of each loin with extra virgin olive oil. Add freshly ground black pepper. Do not add salt if you have already brined.
- Sear the skin (direct zone). Place the loins skin-side down over the direct heat zone. Do not move them for 3-4 minutes. The skin will contract and crisp up. You'll know it's ready when it peels off the grate without resistance.
- Sear the flesh (direct zone). Flip with a wide spatula (never with a fork, which perforates and causes juices to be lost). Sear the flesh side for 2-3 minutes.
- Finish (indirect zone). Move the loins to the zone without coals, skin-side up. Cover the grill if possible. Cook for another 4-5 minutes until the flesh is opaque but still juicy.
- Rest. Remove from the grill and let rest for 2 minutes on a cutting board. Residual heat will equalize the internal temperature.
- Garnish. A few drops of raw olive oil, a squeeze of lemon, Maldon salt flakes, and chopped fresh parsley.
The most common mistake when cooking cod—both grilled and pan-fried—is overcooking it. If you want to review the most frequent mistakes and how to avoid them, read our article on typical mistakes when cooking cod.
Accompanying sauces: aioli, romesco, and green sauce
Grilled cod has enough character to be eaten simply with oil and lemon. But a good sauce elevates the dish to another level. These three work best with the smoky flavor of the grill:
Traditional aioli
The Catalan classic, made only with garlic and olive oil (without egg). Its potency complements the smoky flavor of the grill without overpowering it. Prepare it in a mortar for a more rustic texture that matches the character of the grill. If you make it with egg, it's technically garlic mayonnaise, but it still works well.
Romesco
The most genuinely Catalan sauce for grilled fish. Rehydrated ñora peppers, roasted tomatoes, toasted almonds, hazelnuts, garlic, Sherry vinegar, and olive oil. Its smoky sweetness (from the ñora peppers and roasted tomatoes) creates a perfect pairing with grilled cod. Prepare it in advance: it's better the next day.
Green sauce
Fresh parsley, garlic, extra virgin olive oil, a touch of white vinegar, and optionally some capers. Lighter than aioli and romesco, it adds freshness and acidity that cut through the richness of the cod. Ideal if you prefer a cleaner dish.
Tip: serve the three sauces in small bowls alongside the cod and let each diner choose. All three are cold, which creates a temperature contrast with the hot fish.
Presentation and plating
Grilled cod doesn't need fancy plating. Its aesthetic is rustic by nature, and that's part of its appeal. Even so, a few details elevate the presentation without betraying the spirit of the dish:
- Wooden board or earthenware plate: avoid fancy white plates. Grilling calls for natural materials.
- Skin up: always. Crispy skin is the most powerful visual element of the dish. If you hide it underneath, you lose impact.
- Drizzle with raw olive oil: pour a drizzle just before serving. The shine of fresh oil on toasted skin is irresistible.
- Visible flake salt: a few Maldon flakes on top. They add crunch and an elegant visual touch.
- Half a roasted lemon: cut a lemon in half and place it face down on a hot grill for 2 minutes. Roasted lemon caramelizes, loses its aggressive acidity, and gains sweetness. Essential as a side dish.
- Vegetable garnish: Padrón peppers, roasted piquillo peppers, or grilled green asparagus. Vegetables that have also been cooked over fire to maintain consistency in the dish.
The cod matters
For grilling, you need a thick loin, with firm fibers and well-desalted. In our desalted cod collection you will find selected pieces for this type of cooking. The desalted cod loin is our direct recommendation: 3-5 cm thick, with skin, ready for the grill.
Quality cod makes the difference between a good dish and a memorable one. With mediocre product, not even the best technique can save the result.
Dry or desalted cod for grilling?
It depends on your time availability. Dry (salted) cod requires 36-48 hours of prior desalting, but allows you to control the exact salinity. Already desalted cod saves you that process and is equally valid for grilling. If you want to understand the fundamental differences, read our comparison of dry cod vs desalted cod.
Frequently asked questions about grilled cod
Is grilled cod the same as barbecued cod?
Yes, in practice they are synonymous. Both terms refer to cooking cod over a grate with charcoal or wood heat underneath. "Grilled" emphasizes the heat source (the embers) and "barbecued" emphasizes the utensil (the grill). The result is the same. What is different is "pan-seared," which uses a flat metal surface without contact with fire. We have an article dedicated to the pan-searing cod technique for those who prefer that method.
How long does cod cook on the grill?
It depends on the thickness of the piece. A 3 cm loin needs about 8-11 minutes in total. A 4 cm loin, between 10 and 12 minutes. Loins of 5 cm or more can take 13-16 minutes. The key is to use two heat zones: quick searing in the direct zone and final cooking in the indirect zone. Consult the time table above for exact values.
Do you place the cod skin-side up or down?
Always start skin-side down in the direct heat zone. The skin acts as a protective barrier and becomes crispy when it comes into contact with the hot grate. Once the skin is well seared (3-4 minutes), flip it to briefly sear the flesh side. For the final cooking in the indirect zone, place it skin-side up to maintain its crispy texture.
How do I prevent cod from sticking to the grill?
Three combined measures: clean the grate thoroughly with a wire brush when hot, rub it with a cloth soaked in olive oil just before cooking, and oil the cod well on both sides. Also, do not move the piece until it has sealed properly: a well-seared cod will release itself. If you pull it too soon, it will break apart.
Can I grill cod on a gas barbecue?
Yes, although the result will not be identical. A gas barbecue allows for more precise temperature control, which facilitates cooking, but it does not generate the natural smokiness of charcoal. If you use gas, you can add a smoker box with oak wood chips to simulate some of that flavor. The direct/indirect zone technique works the same way: light only half of the burners.
What side dish goes best with grilled cod?
Side dishes that also go on the grill are the most coherent: Padrón peppers, green asparagus, spring onions, or grilled zucchini slices. Roasted or confit potatoes also work well. As for sauces, alioli, romesco, and salsa verde are the three classic options that best complement the smoky flavor of grilled cod.
🛒 Products mentioned in this article
⭐ 4.9/5 · 24-48h chilled delivery · Since 1990 in Mercat del Ninot
Conclusion: less is more on the grill
Grilled cod is a dish with few ingredients and a lot of technique. You don't need complex marinades or elaborate garnishes. You need a good thick loin, proper desalting, quality charcoal, and to master the heat zones of your grill.
If you control the thickness of the cut, the heat of the embers, and the cooking times for each phase, the result is cod with crispy skin, juicy flesh, and a smoky aroma that no other cooking method can match. It is the most primitive and, probably, the most honest way to cook this fish.
Start with a good desalted loin, follow the times in the table according to its thickness, and don't touch it until it releases itself. The fire will do the rest.
Marc González Sáez — Third generation in the cod business. From Mercat del Ninot in Barcelona.